Reading the Home Assistant release notes I saw that Switchbot now has time offset function for the Meter Pro devices. I was looking for a way to set the time on the devices directly with Home Assistant ... which thanks to actually reading the docs, already exists!
The Meter Pro devices seem to lose a minute every week or so unless manually synchronized.
I like the 1.5 display: none option, seems simple enough to add
This seems like a nice fit if I can ever figure out how I’d like to host video on my static site
Since leaving Cointracker I was hoping not to really deal with them again. I'm looking into some discrepancies with a crypto exchange that uses Cointracker for tax documents. It looks like some timezones were lost in transactions and are then getting reported for the wrong year! Some final hours 2024 transactions are 2024 my-local-time but 2025 UTC.
SQLx 0.9 will have a sqlx.toml format that can specify DB connections. It was merged a while ago but isn't released yet. It was nice for updating calibre-metadata-api to have multiple sqlite DBs (PG example), one for Calibre and one for Calibre-Web. Without this support the builds with 2 databases would fail for any query_as! macros connecting to the incorrect DB.
I installed an inexpensive dehumidifier with a short run of duct to return the air outside a bathroom. It’s been a huge help for humidity and comfort.
‘Telling them "Patches Welcome" is like saying "I know you aren't capable of implementing this yourself. I don't care to help you at all, and I don't want to waste my time on you. Go away".’
Time to upgrade nix on my Macbook. Ran into
---- oh no! --------------------------------------------------------------------
It seems the build user _nixbld15 already exists, but with the UID
'31008'. This script can't really handle that right
now, so I'm going to give up.
during the install. I just ran through the users deleting them to let the installer figure it out afterwards
sudo /usr/bin/dscl . -delete /Users/_nixbld15
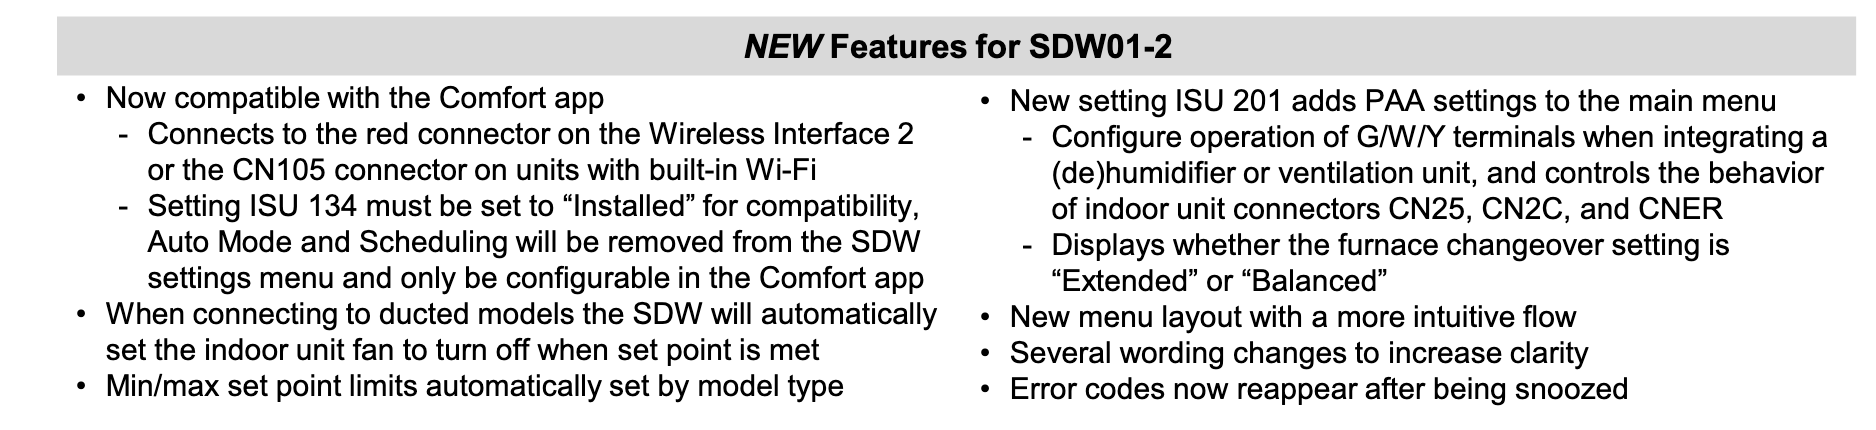
Looks like the replacement for the PAC-SDW01RC-1 thermostat is finally coming out! The PAC-SDW01RC-2! But also there is a 03 launching soon!
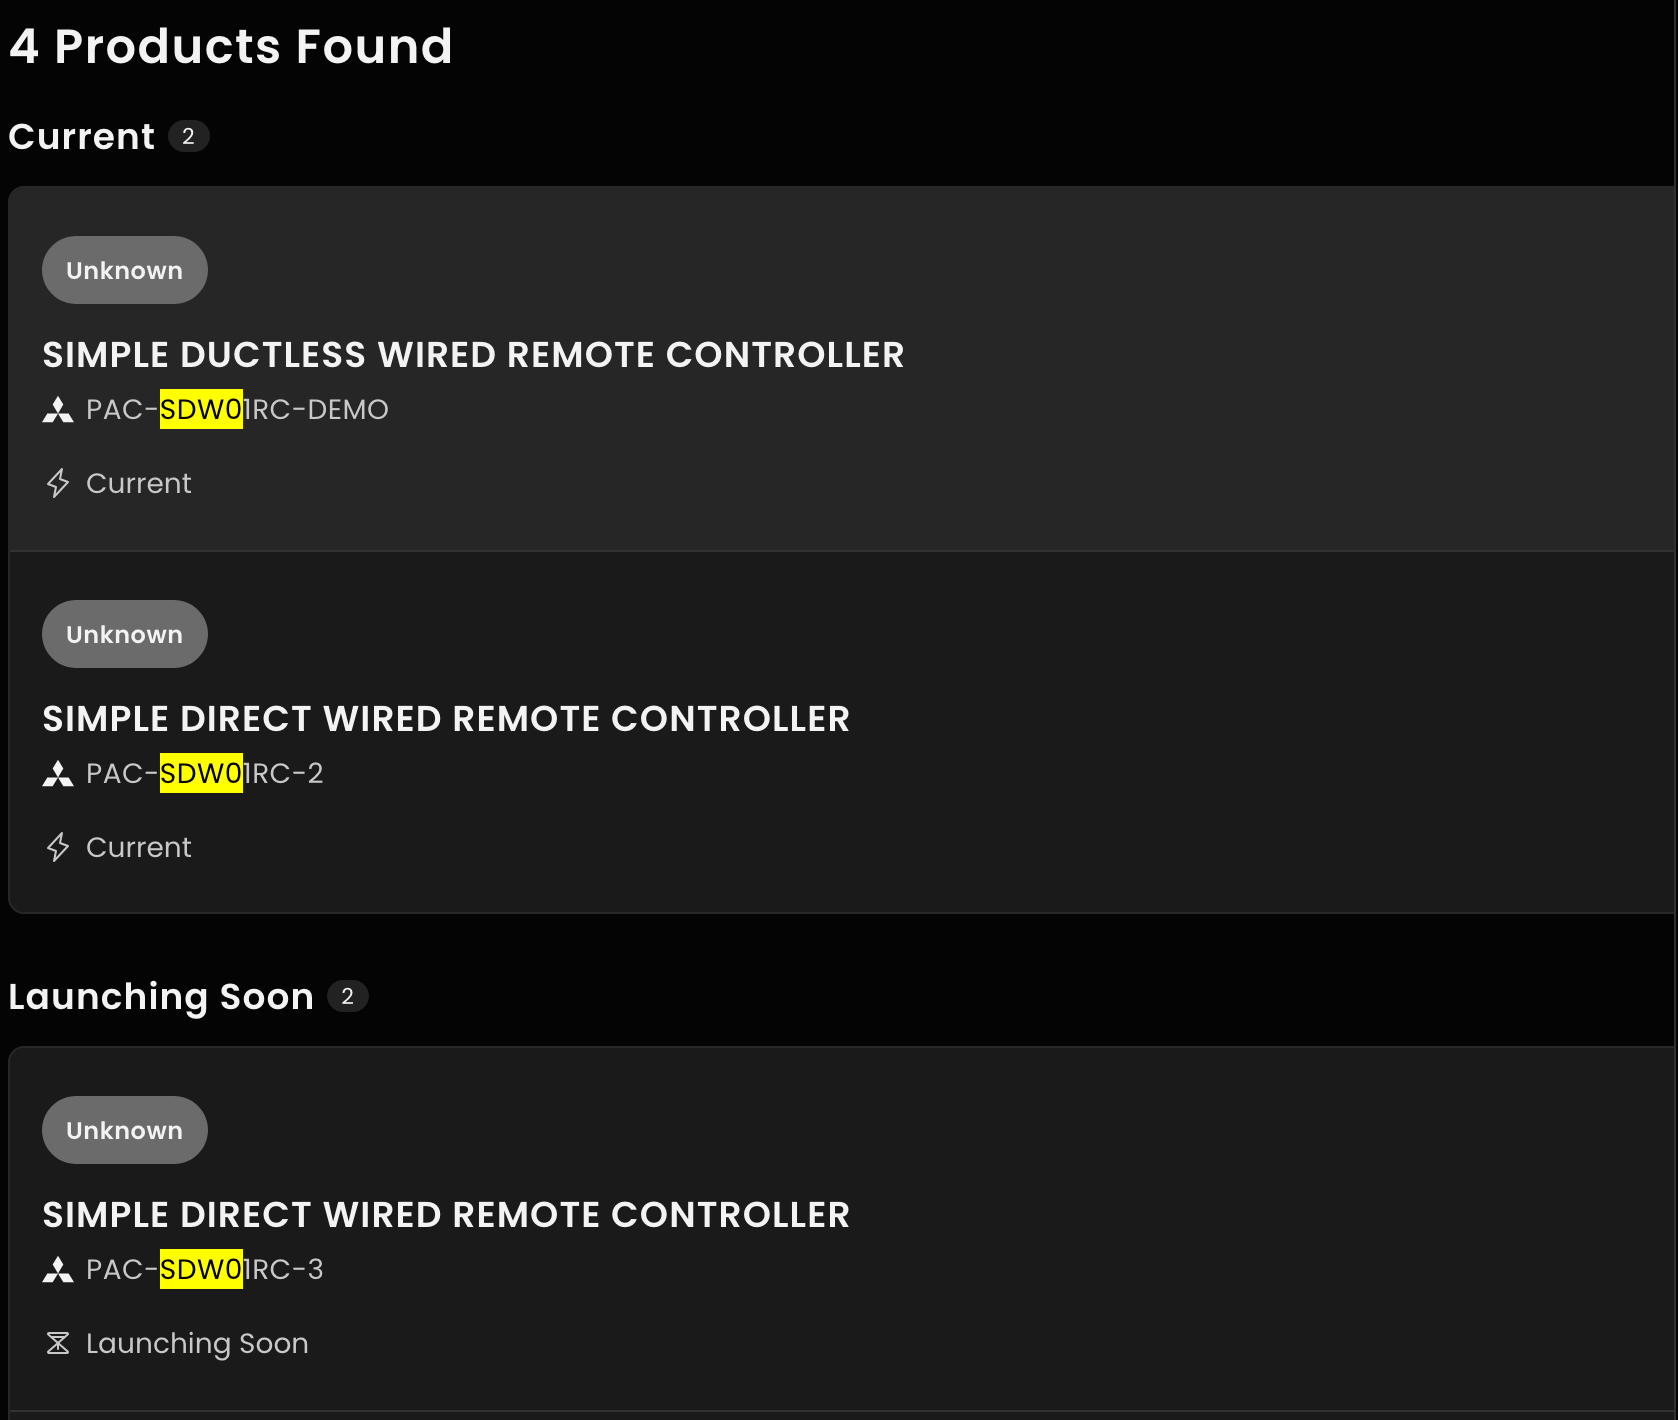
I've had problems with the -1 where a power cycle would cause the thermostat to read from the incorrect temperature sensor, switching from the thermostat to the sensor inside the air handler. This lead to being 5-10 degrees off from the room temperature! I'm waiting on my HVAC contractor to get a unit and try replacing it.
Besides the fix, I'm glad to see WiFI integration as well! I don't use the Kumo Cloud unit but instead use a ZWave connector with a minisplit. I'd like to get the air handler integrated.
No idea with the 3 revision does though!
With Github recently having issues it was a nice time to see what other options folks recommend. I've run forgejo for a little bit but it always feels like a bit too much for solo projects.
Two new ones mentioned that I haven't seen before were tangled and Radicle. tangled seems like a nice integrated model but self hosting the knot is only one piece of the system. Radicle seems like a farther departure from usual forge systems.
I added a repo to each Radicle and tangled. The tangled story for CI seems nice with Nix based runner. The Radicle system is less developed.
This worked for my Nintendo Switch Lite that wouldn't turn on! It had 50% battery when I turned it off for 15 minutes, when I came back it wouldn't turn on again. Holding power for 15s then tapping power 3x brought it back!
Finally fixing my nix-based dev env on MacOS. I was getting error: tool 'git' not found when in a dev env.
sudo xcode-select --reset
sudo xcode-select --switch /Library/Developer/CommandLineTools
wound up fixing it
I'm giving Restic a go for backups with a NixOS system. The integration on NixOS is pretty easy to set up and backing up to Minio was painless. I still need to work on the sequencing from services that won't work with just a disk copy (sqlite mostly I think).
I've mostly seen people ask about Borg in the self-hosting community, but I wanted something S3-compatible natively and Borg doesn't seem to fit that.
There is a fork of the Minio Console UI that is bringing back the recently removed features! I haven't given it a try but might be the next bits I setup in my homelab to give it a spin. The lack of SSO in Minio's "new" UI has been annoying.
It looks like Minio is enshitifying
`Minio strips away almost all features from AGPL interface and suggests people use their licensed "AIStor" service instead
I use Minio a bit for storage to avoid reliance on a single node and being able to scale up storage more than a single server can handle. I never really loved Minio, but it seems that Garage replicates and SeaweedFS requires a more complex setup to replicate the filer.
I joined Obsidian Catalyst just to try out the Bases plugin. So far it's worth it, might fill the void for a self-hosted, plaintext Notion Database replacement!
sudo launchctl load /Library/LaunchDaemons/org.nixos.nix-daemon.plist worked for me when I updated MacOS and needed to reboot. Thanks Dan!
This looks interesting for when I replace my existing homelab cluster. It would be nice for NVME hotswap drives though.